Freshly made juice is one of the easiest ways to add more nutrients to your daily diet. Whether you're new to juicing or looking to refine your technique, knowing how to use a juicer properly can help you get the best flavour, texture, and yield from your ingredients.
How to use a juicer at home: Our top tips
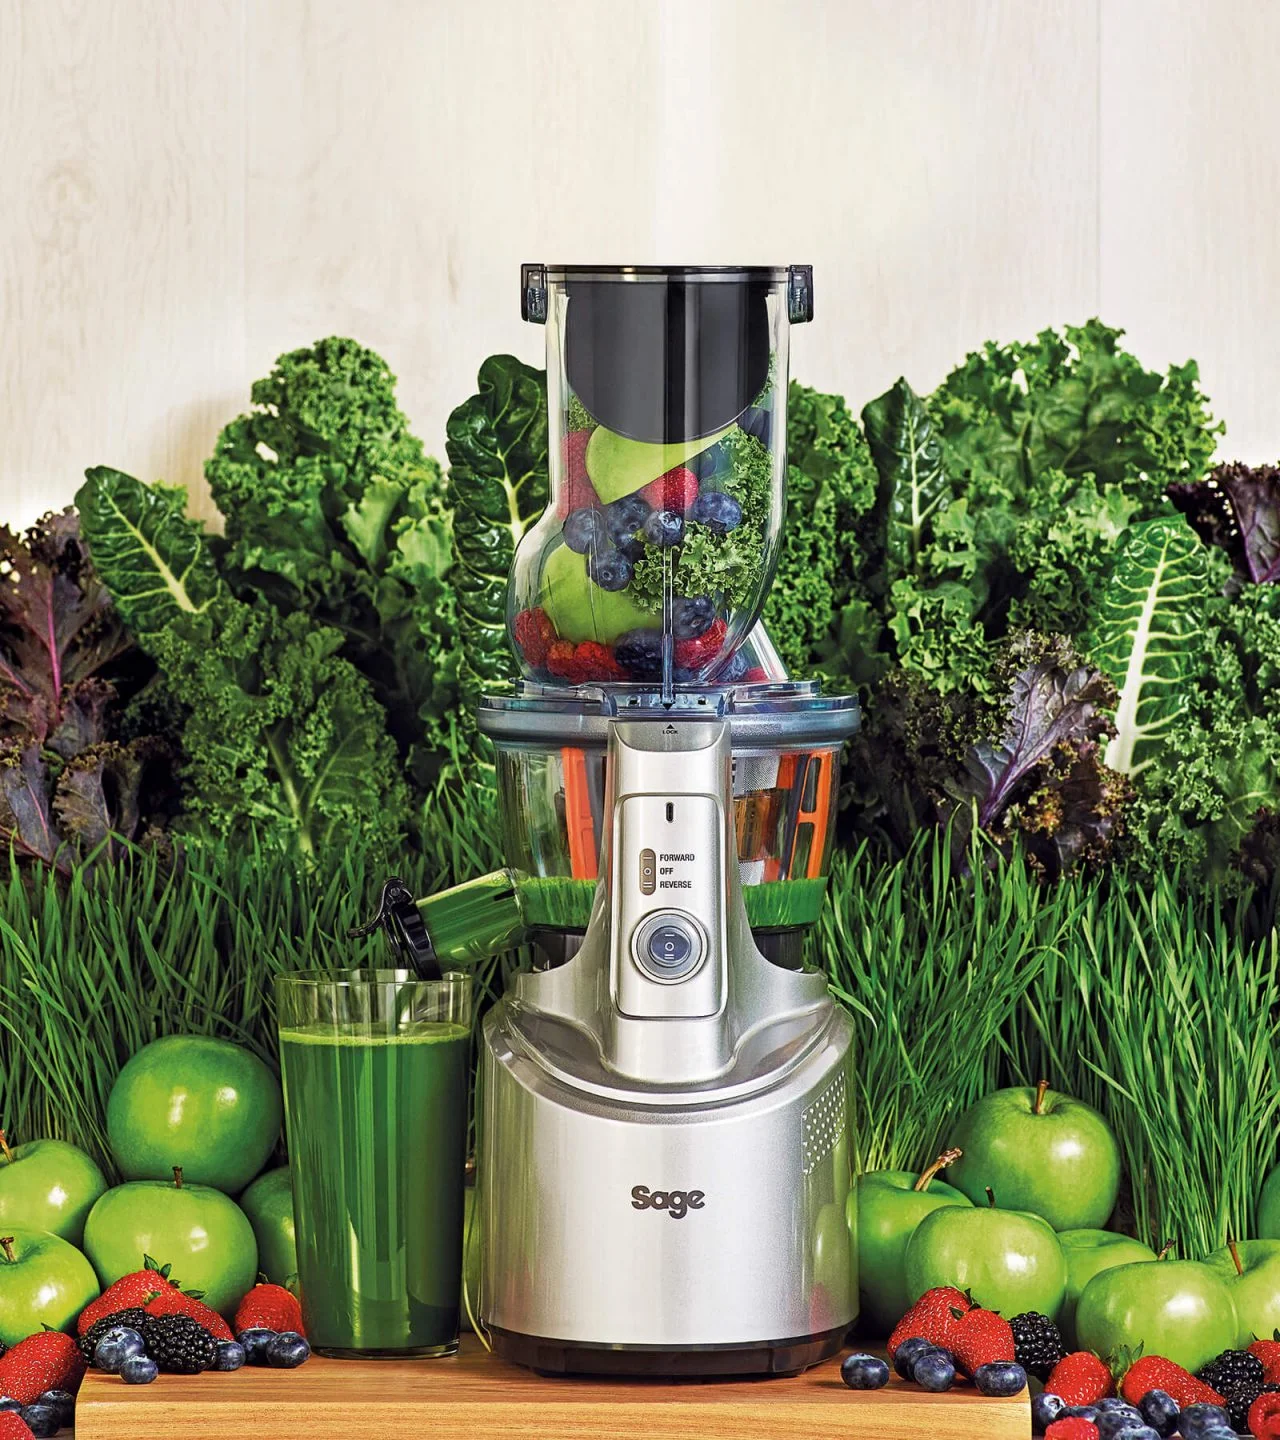
While blenders and food processors can mix up smoothies, an electric juicer extracts the pure liquid, removing the pulp for a smoother drink.
This guide will take you through everything you need to know, from preparation to cleaning, so you can enjoy the benefits of fresh juice every day.
Preparing to use your juicer
Before you start juicing, a little preparation can go a long way. Choosing the right ingredients, washing and cutting them properly, and having the right tools on hand will make the process smoother and more efficient.
Choosing the right ingredients for juicing
The quality of your juice depends on the fruits and vegetables you select. Opt for fresh, ripe produce for the best taste and nutritional value. Some of the best ingredients to juice include:
● Leafy greens like spinach, kale, and wheatgrass
● Citrus fruits such as oranges, lemons, and grapefruits
● Root vegetables like carrots, beets, and ginger
● Hydrating produce such as cucumbers and celery
● Sweet fruits like apples and pears to balance flavours
If you prefer a richer, creamier texture, consider cold-press juicers, which extract juice slowly to retain more nutrients. You may also compare a food processor vs blender when making smoothies, as each offers different textures and consistency.
How to properly wash and prepare produce
Since fresh produce can carry dirt, bacteria, and pesticides, it's essential to wash it thoroughly before juicing. Here’s how:
1. Rinse thoroughly under cold running water.
2. Scrub firm vegetables like carrots and beets with a vegetable brush.
3. Peel citrus fruits if your juicer isn’t designed to handle thick rinds.
4. Remove seeds and pits from apples, peaches, and cherries.
5. Cut large ingredients into smaller pieces to fit easily into your juicer’s feed chute.
Tools and accessories you’ll need
Beyond your juicer, a few extra tools can enhance your juicing experience:
● A cutting board and a sharp knife for prepping ingredients
● A container to catch the juice
● A fine-mesh strainer if you prefer a pulp-free juice
● A storage bottle if you want to keep juice for later
● A cleaning brush to help remove leftover fibres from the juicer
If you enjoy making smoothies or soups in addition to fresh juice, exploring different types of blenders can help you find the right appliance for your needs.
Step-by-step guide on how to use a juicer
Now that your ingredients are ready, let’s go through the juicing process.
Step 1: Assemble your juicer correctly
Different types of juicers have slightly different setups, but most follow the same assembly process:
1. Place the pulp container and juice jug in their designated spots.
2. Ensure all parts, including the strainer and auger (for slow juicers), are securely attached.
3. Plug in the juicer and check the speed settings—centrifugal juicers work best at high speeds for hard produce, while a slow juicer is better for leafy greens.
Step 2: Prepare your ingredients
Chop ingredients into pieces small enough to fit easily into the juicer’s feed chute. Softer fruits like cucumber and orange require less preparation, while tougher vegetables like carrots and celery may need to be cut smaller to avoid straining the machine.
Step 3: Feed ingredients into the juicer
Start feeding the fruits and vegetables into the chute, pressing down gently with the pusher. Juicers vs. bluicers differ in how they process ingredients; traditional juicers extract pure juice, while bluicers combine juicing and blending functions for a thicker texture.
For a balanced flavour, try layering different ingredients. Alternating apples, ginger, and lemon can help blend the flavours evenly.
Step 4: Collect the juice and discard pulp
Your freshly extracted juice will flow into the container, while the pulp collects separately. You can discard the pulp or compost it.
If you prefer a clearer drink, strain the juice through a fine-mesh sieve or cheesecloth to remove any remaining pulp.
Step 5: Clean your juicer thoroughly
Proper cleaning keeps your juicer looking and functioning like new. Here’s an easy way to do it:
1. Disassemble the juicer immediately after use.
2. Rinse all parts under warm water to remove leftover juice and pulp.
3. Use a brush to clean the strainer and small crevices.
4. Soak components in warm, soapy water if necessary.
5. Dry thoroughly before reassembling and storing.
Regular maintenance prevents residue buildup, ensuring your juicer works efficiently every time.
Enjoying the benefits of fresh juice every day
Mastering how to use a juicer allows you to make delicious, nutrient-packed drinks at home with minimal effort. Whether you prefer a quick morning drink or an energising post-workout juice, fresh juice is a good way to boost your daily nutrient intake. With a Sage juicer, you can extract juice efficiently while preserving the natural flavours and nutrients of your ingredients.
By following these tips, maintaining your juicer properly, and using high-quality ingredients, you can enjoy the best homemade juices every day—tailored to your taste and nutritional preferences.
Sources:
1. FoodSafety.gov. Fruit and Vegetable Safety. www.foodsafety.gov/blog/fruit-and-vegetable-safety
2. Food Network. Healthy How-To: Juicing Fruits and Veggies. www.foodnetwork.com/healthyeats/healthy-tips/2009/05/healthy-how-to-juicing-fruits-and-veggies
3. Harvard Health Publishing. Fresh Juice: Are Drinks as Healthy as They Seem? https://www.health.harvard.edu/blog/fresh-juice-drinks-healthy-seem-2016072910044